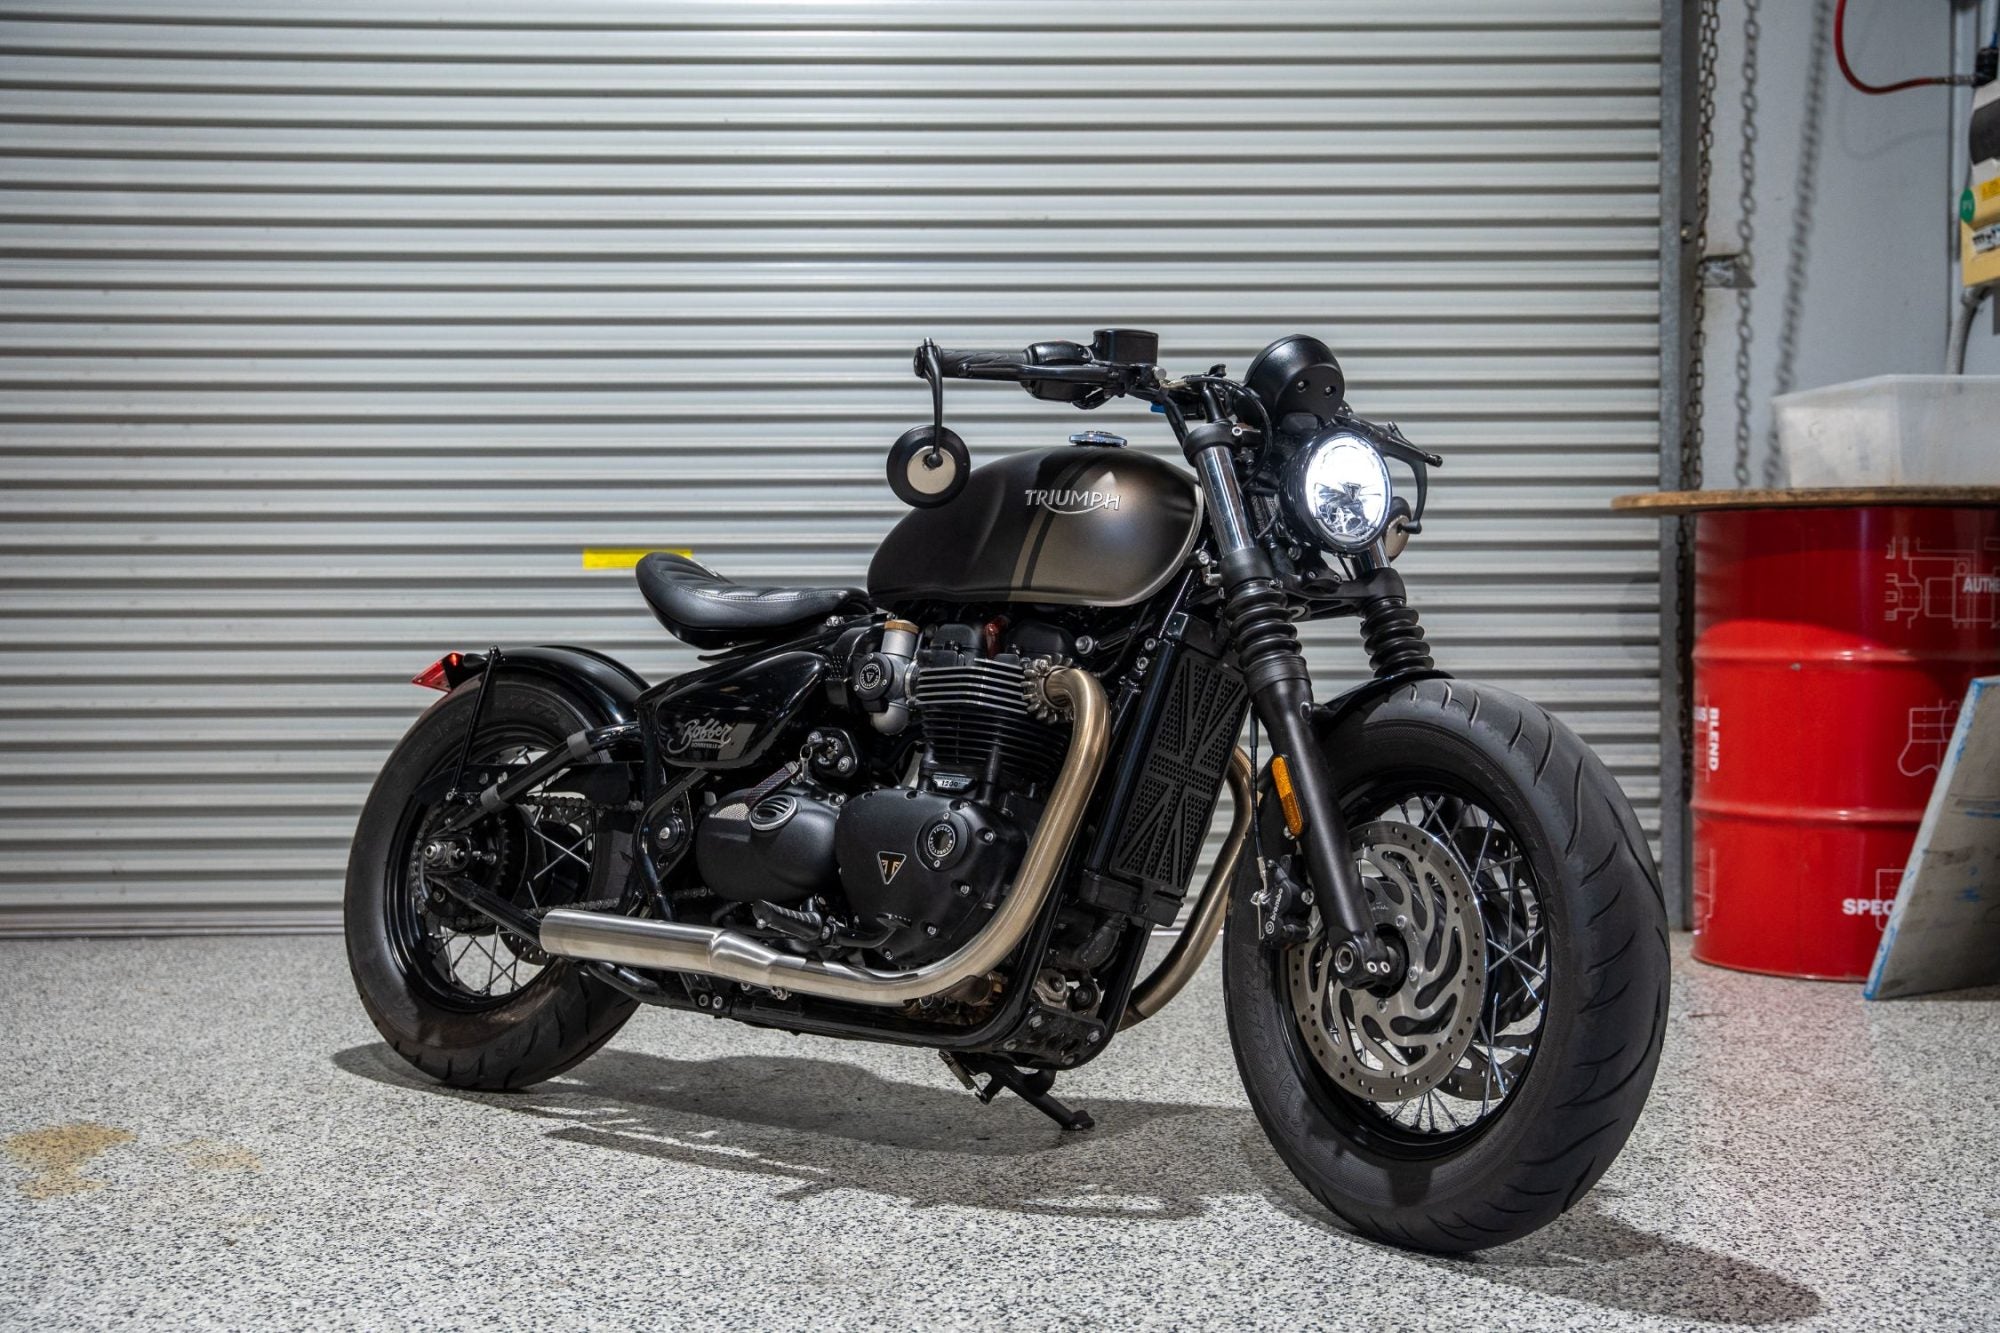
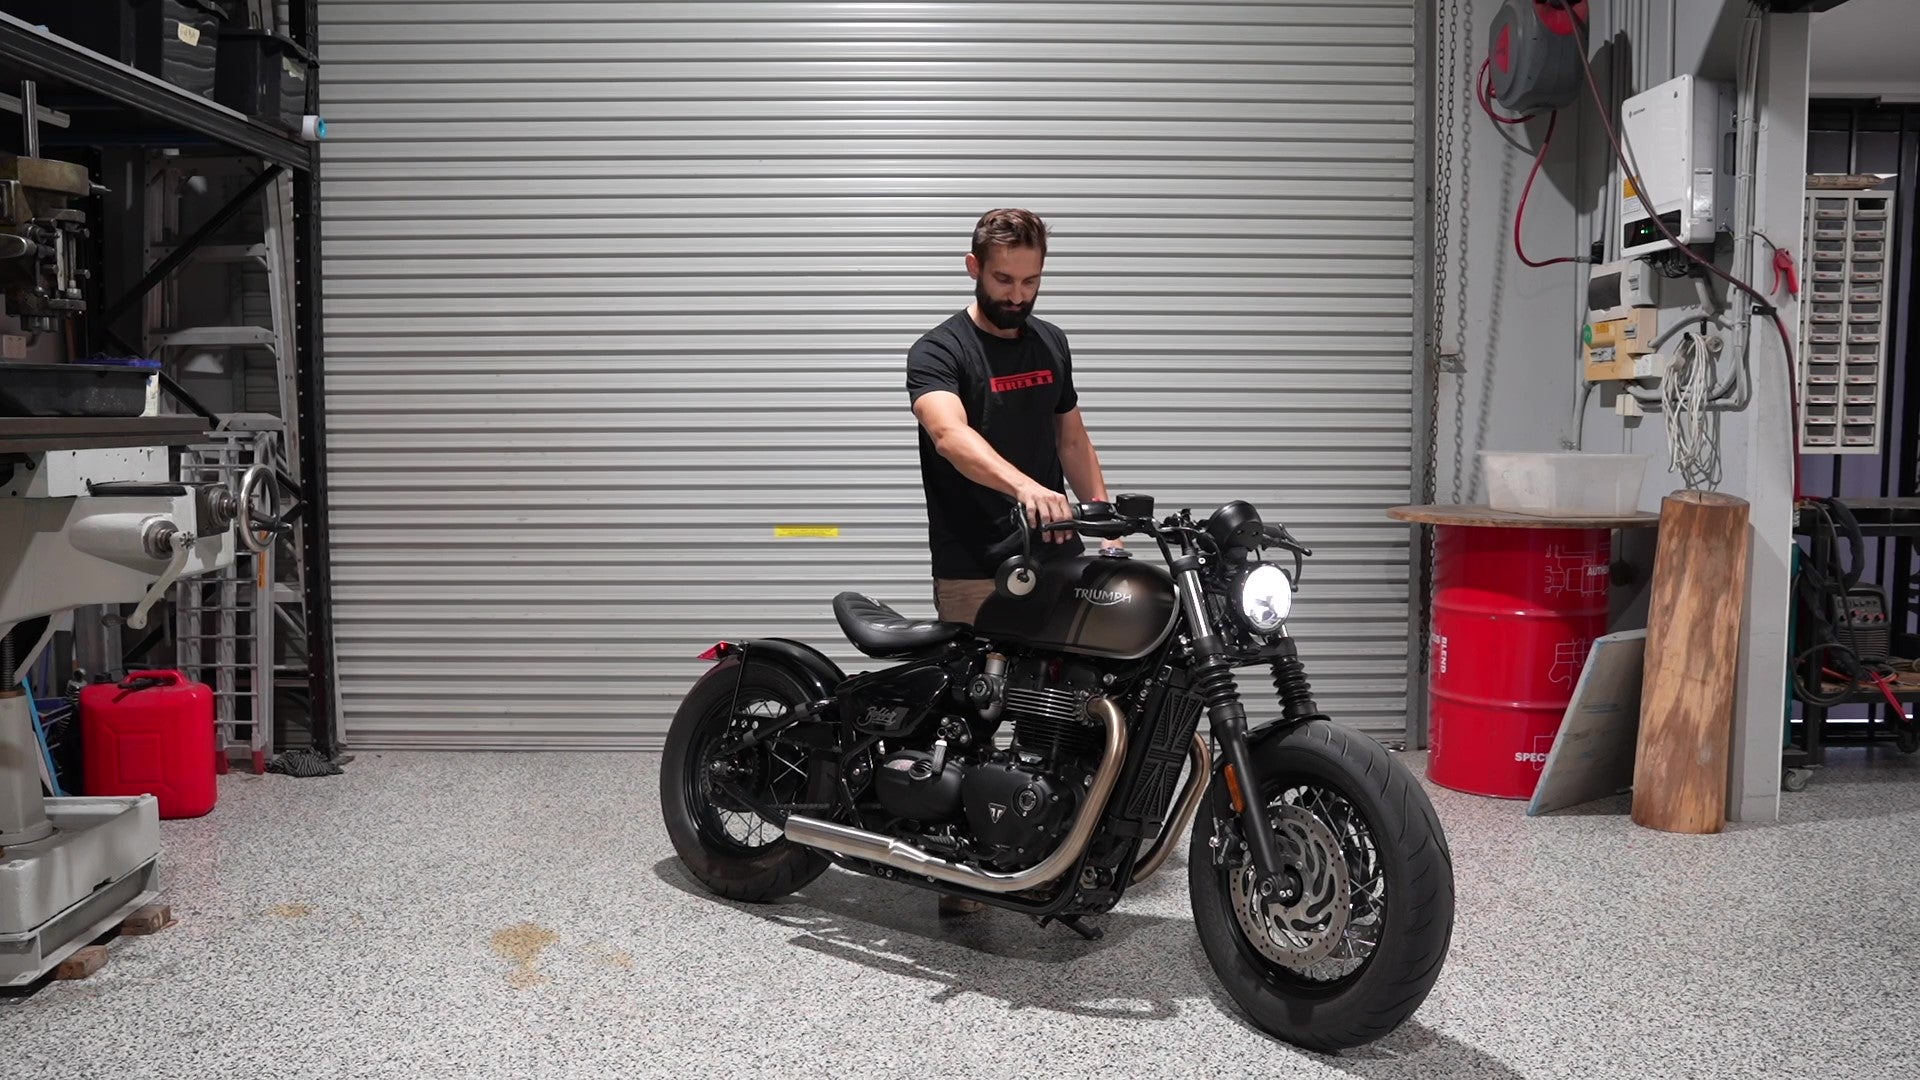
Some simple customisations on a Triumph Bobber, our first brand new Triumph for the year.
This build we did with some super simple upgrades to a new Triumph Bobber. We don’t often get a lot of these bikes coming through the garage, but I’m pretty excited that we have a few of these custom Triumph Bobbers lined up this year.
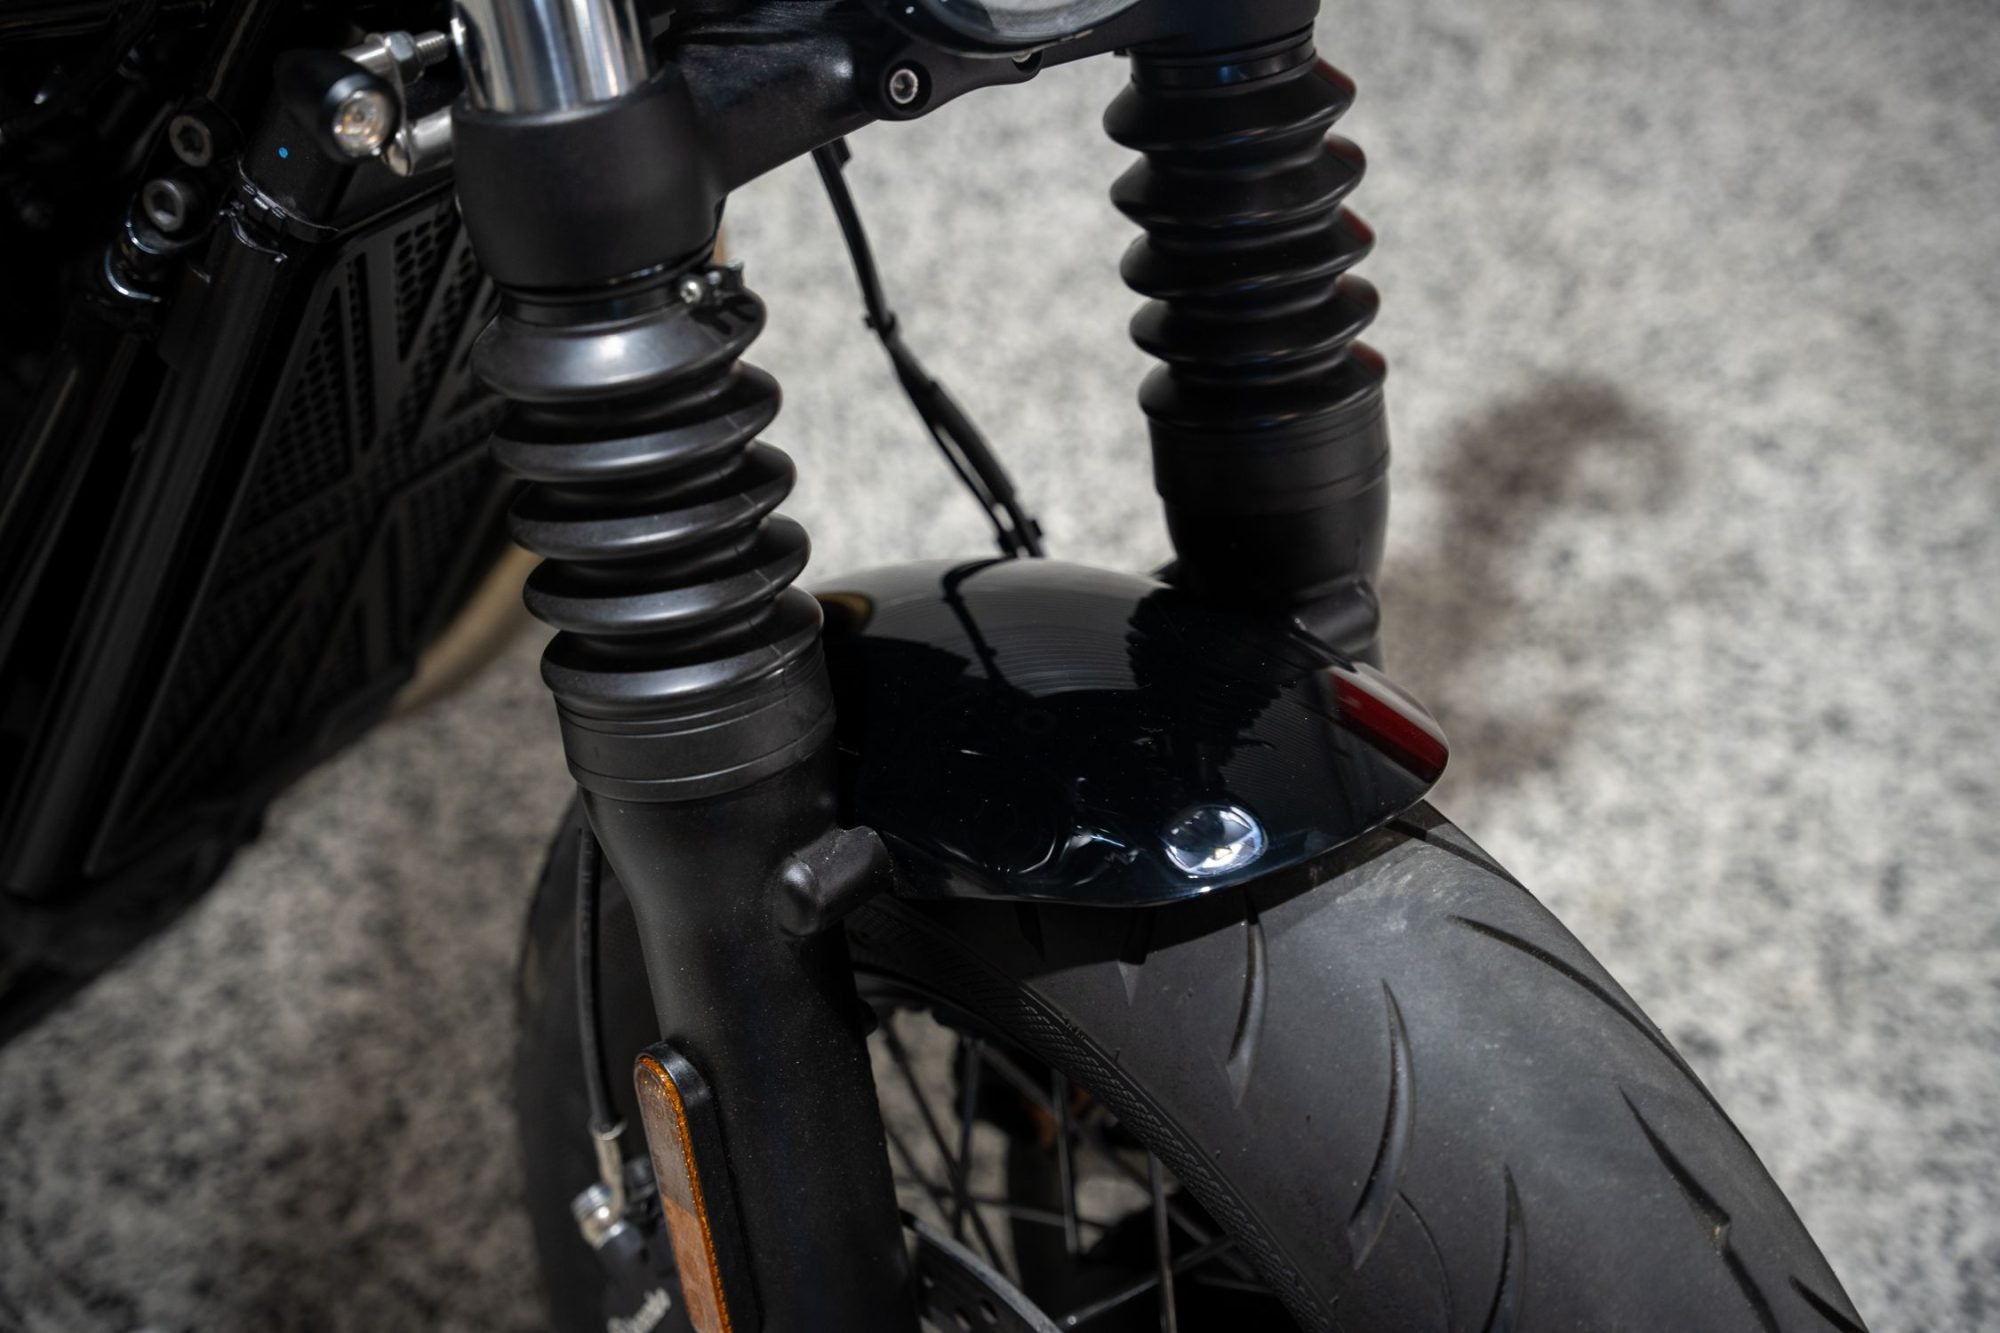
Going from front to back, we’ll start with the fender. The factory fenders on these are bulky and horrible, but because these Bobbers come with quite a large front wheel we had to use one of our rear fender kits. They’re wider than the universal front fenders, but we shortened it down and with some custom alley brackets that we welded together that picked up on the factory mount the front end tidied up real nicely.
The only other modification we made to the front end was a pair of our Hollow Tip 3-in-1 LED indicators. These were made off a custom bracket that mounted onto the bottom of the triple clamp bolt.
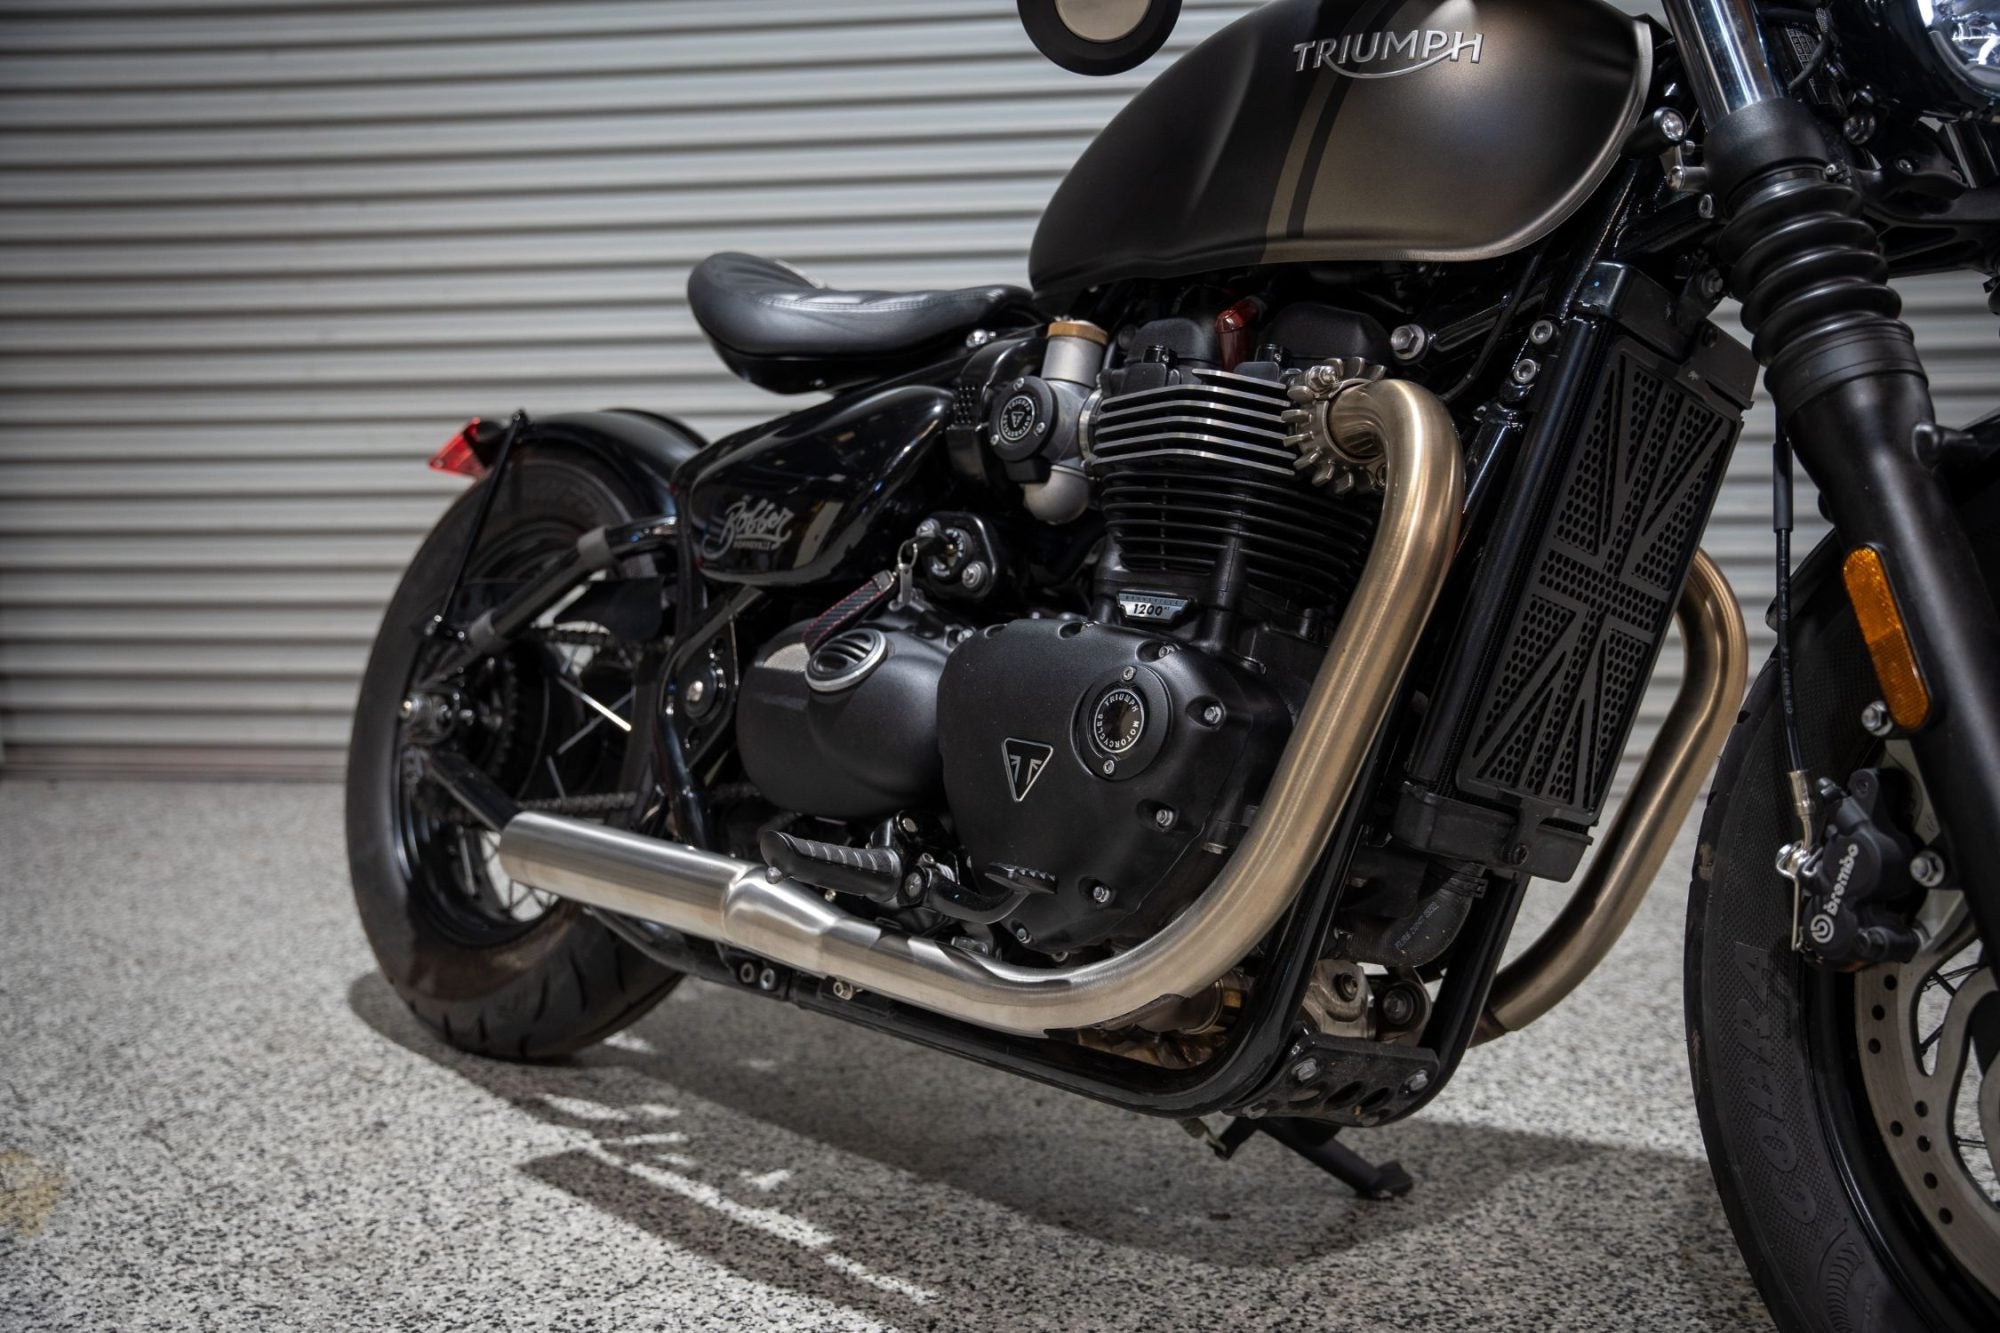
I’m pretty happy with how the custom exhaust turned out on this Bobber, it took a bit of creativity and Dylan pulled it off very nicely. The standard header on a Triumph Bobber runs a pipe along the front of the engine and into the catalytic converter (Cat for short) which sits underneath the motor, which acts as a two-into-one muffler. It’s pretty common to rip the cat out and put an x-pipe on it, but our rider didn’t want his bike to bark too loudly so he decided to retain the Cat for his bike.
You can see that the muffler section of the bike looks like it’s one continuous pipe that runs the length of the bike, but it actually goes under the motor and comes back out. What we’ve done is have that standard cover continue and then we’ve made our own transition cover that steps up to our Muffler section.
The client wanted a sort of short shot semi-straight-through look but I said to him that we couldn’t really achieve that and have the noise level that he wanted. So we fabricated a 63 millimetre Muffler section that flows nicely into that cover, so as far as the drag pipe look goes, this is about as close as we could get to having the straight pipe but achieving the sound that our client wanted.
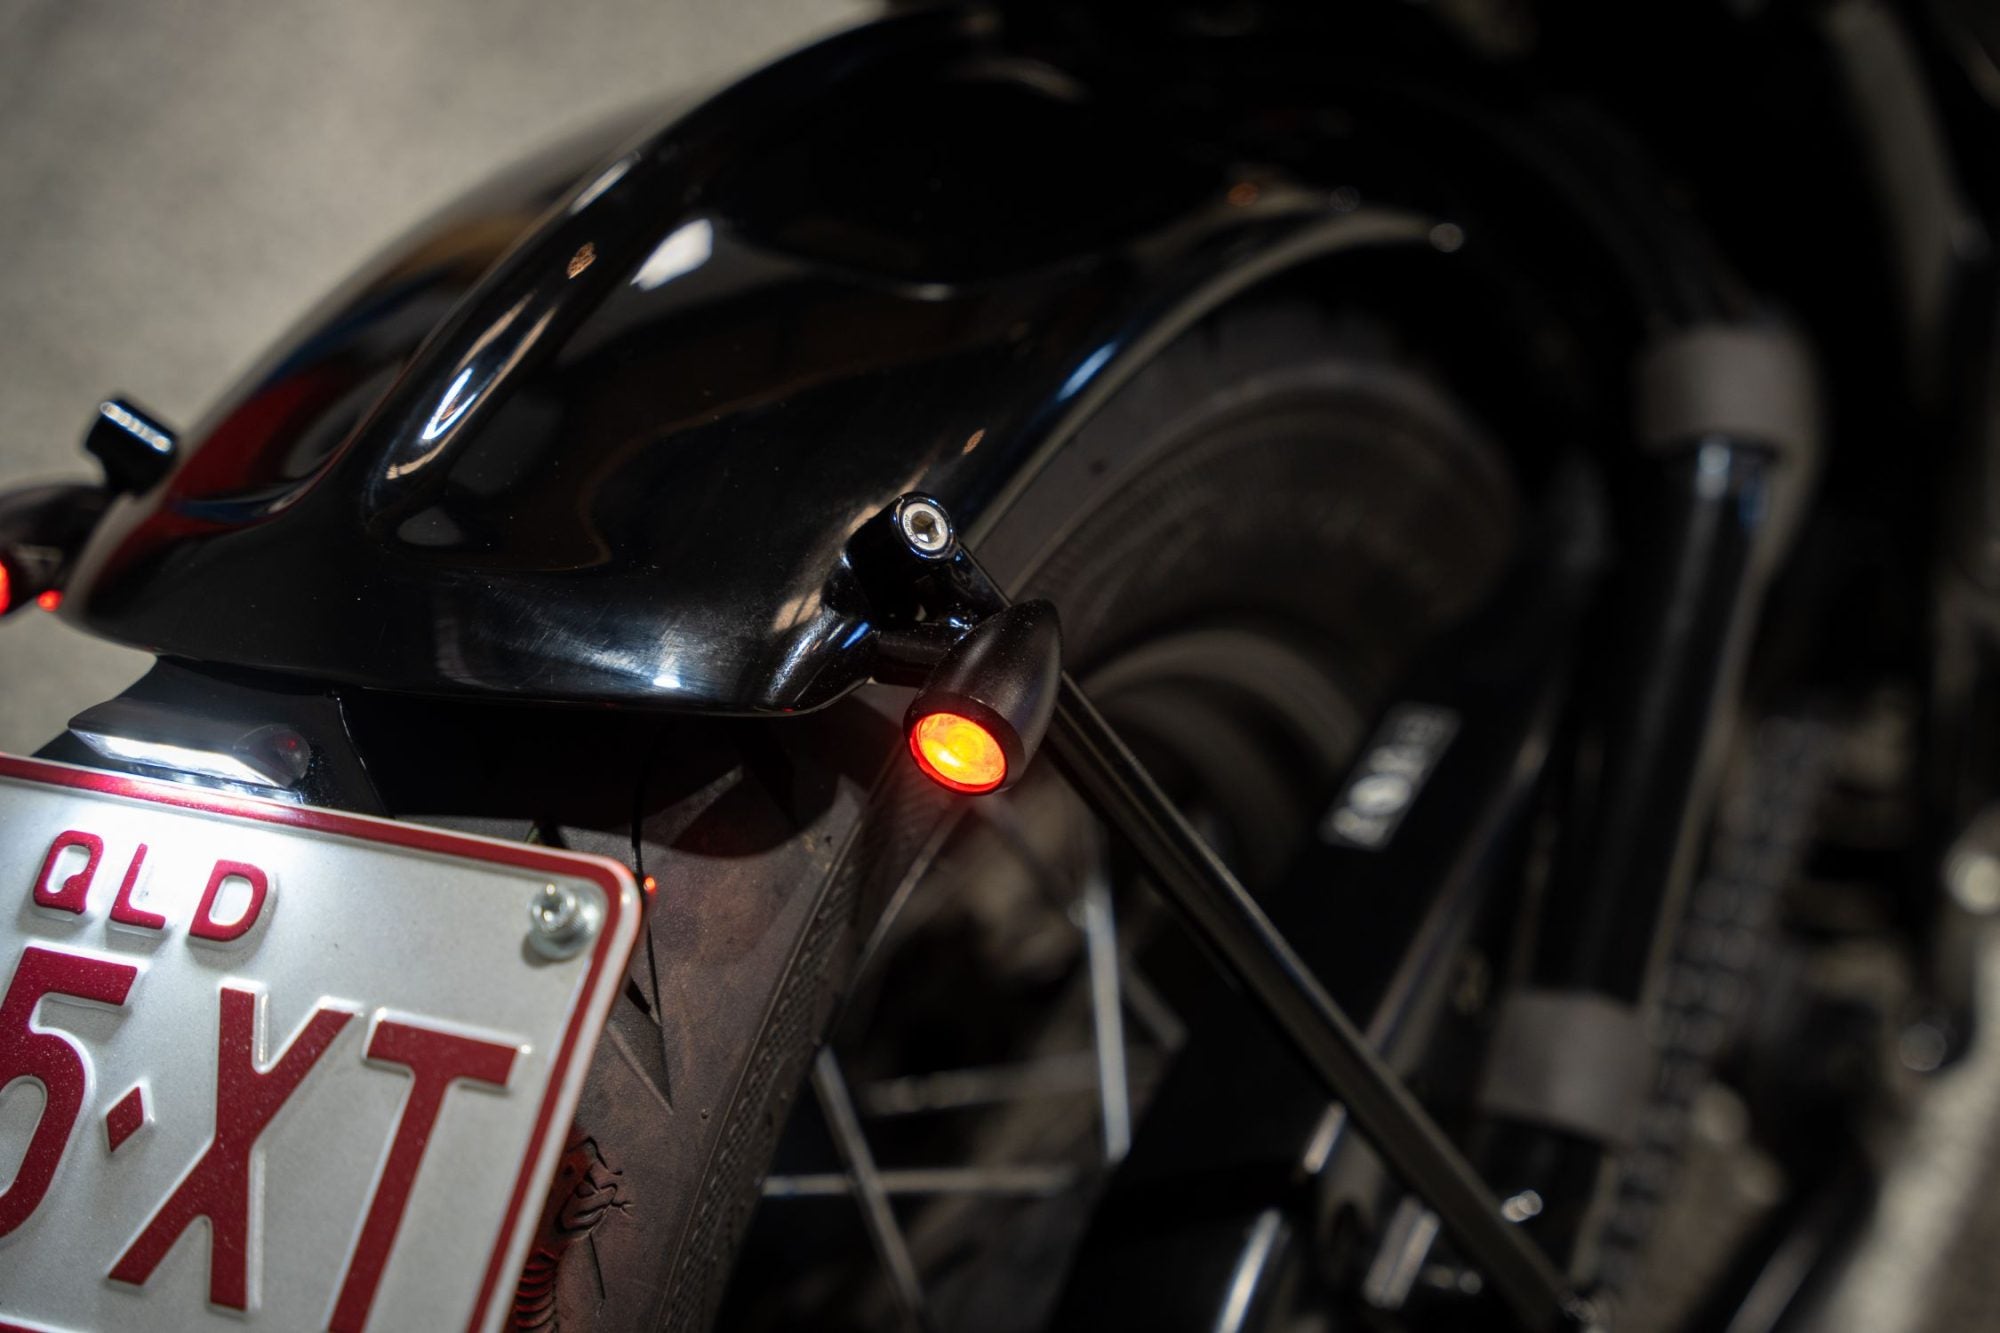
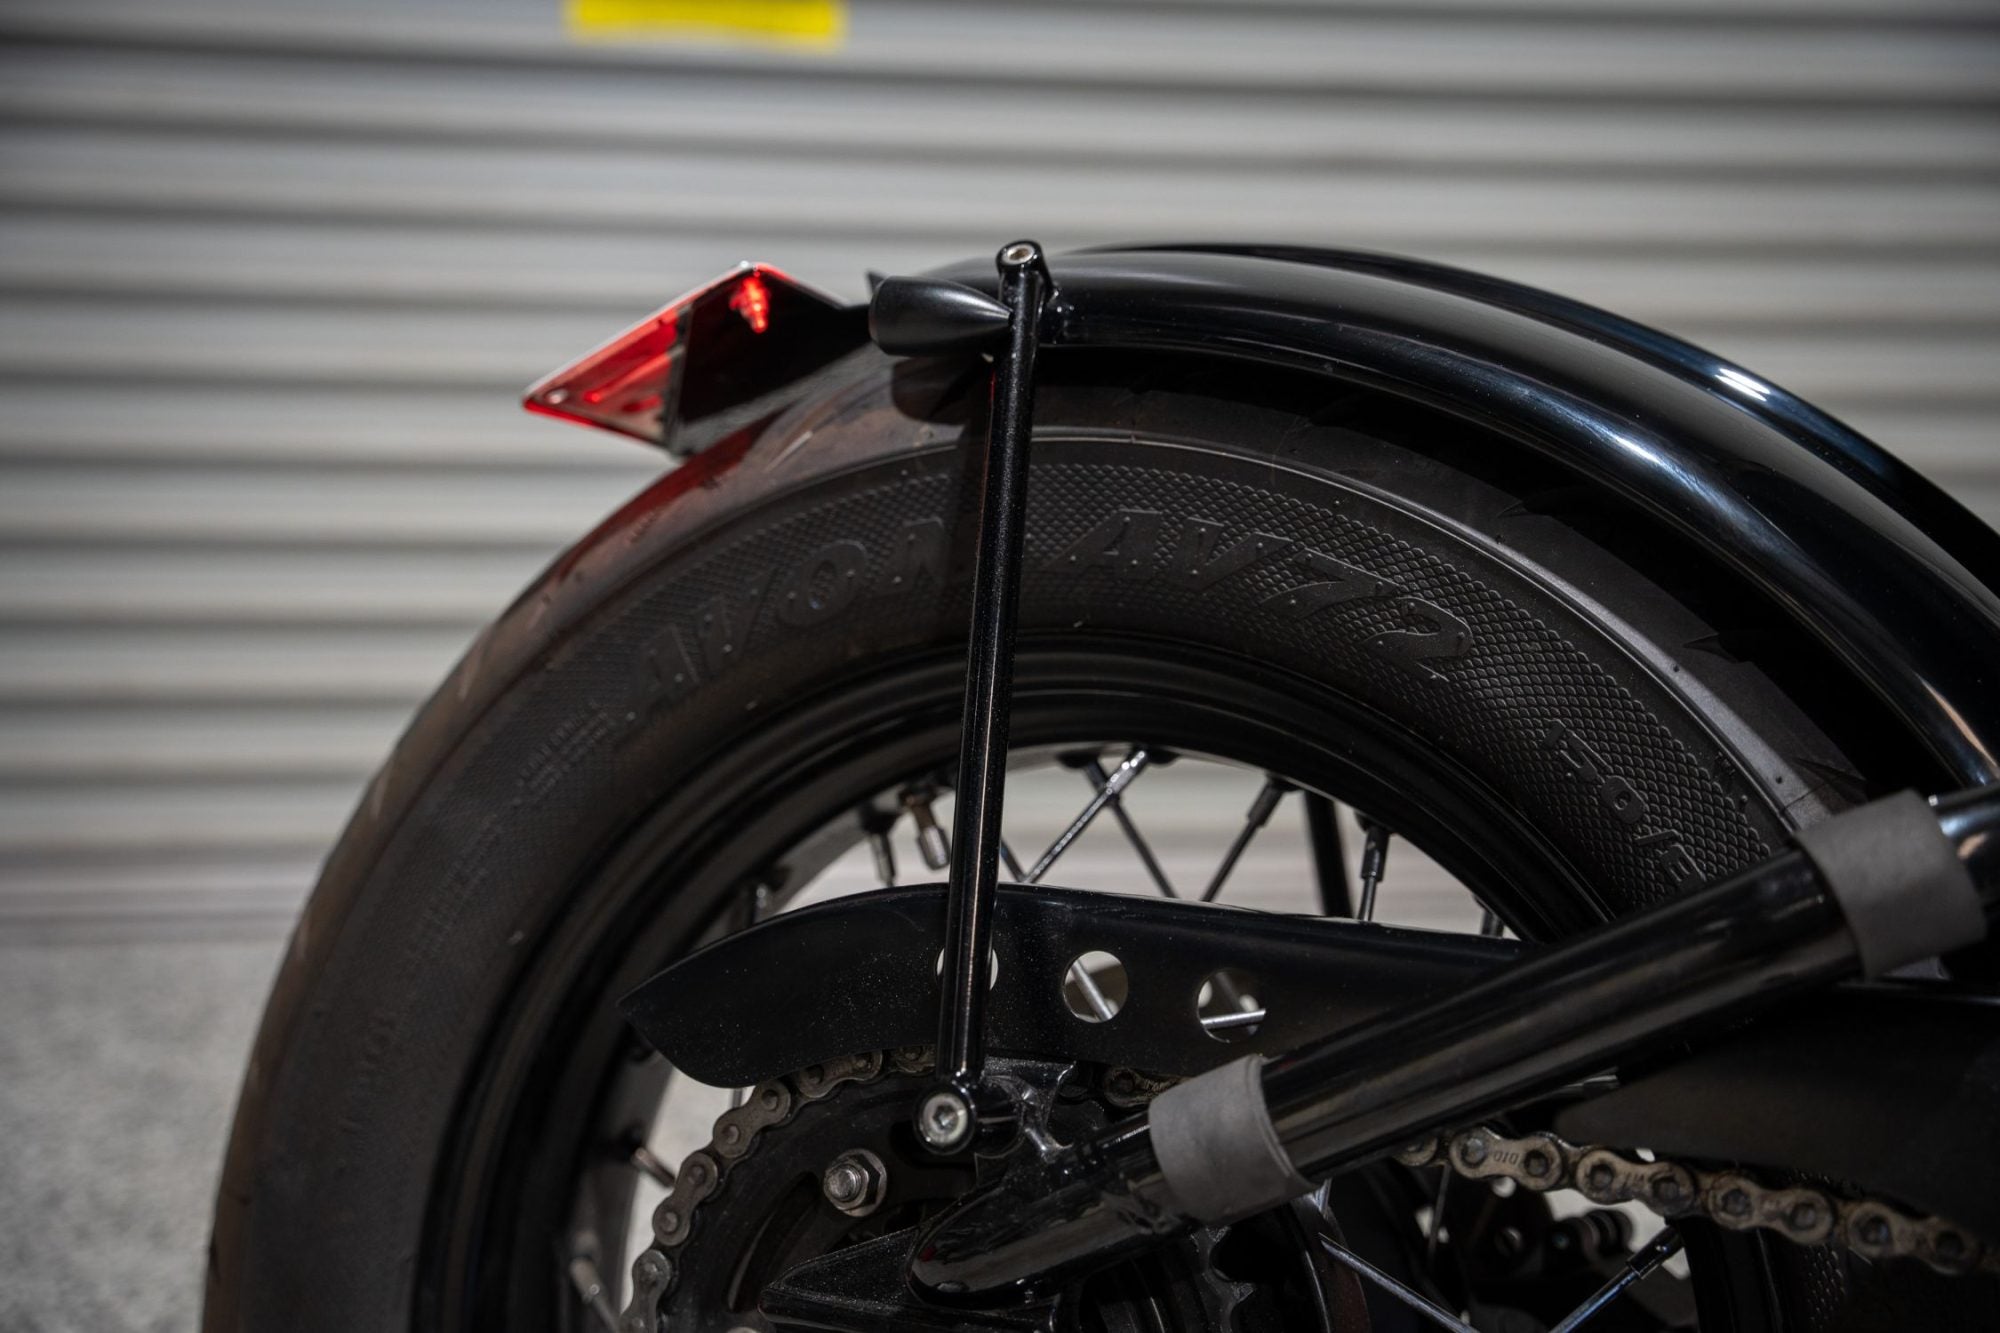
The tail end of the bike is where we got to have a bit more fun with the fabrication. We kept the standard rear fender for the Triumph Bobber, but we had to do a cut and shot to tidy it up a bit. Because of the standard fender mounts that were paced at the front of the swing arm, we couldn’t just unbolt it and move it around. We had to cut a section out of the centre and bring it up to the position we needed. We did this because the end finishes on the ribbed fenders are a pressed metal finish with folded edges. They’re a really well done piece of fabrication and we wanted to keep that, but make it shorter – it gave the bobber a simple and clean rear finish.
Once the fender was cut and welded back, we had to use a bit of body filler, but the finish we for was excellent. We made some custom fender struts out of 10mm stainless steel bar with a few mounting bungs, and then we welded some hollow-tip spacers on to this. It sounds a bit complicated, but the looking at the end result, you can’t see any nuts and bolts on any of the end pieces, it’s all seamless. This is all topped off with our stainless steel tail-tidy and number plate light on the back.
As far as quick fixes go, this was a super quick fix. As we mentioned up top this is the first of a couple Triumph Bobber jobs we have lined up this year, and even though this customisation wasn’t a massive job, it’s still a massively important part of what we do here at PBM.
WE BUILD BIKES WITH PURPOSE.
Purpose Built Moto is home for unique custom motorcycle builds. We offer a unique motorcycle customizing experience in the heart of the Gold Coast.