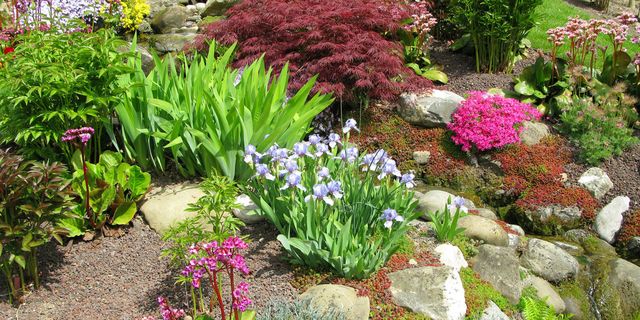
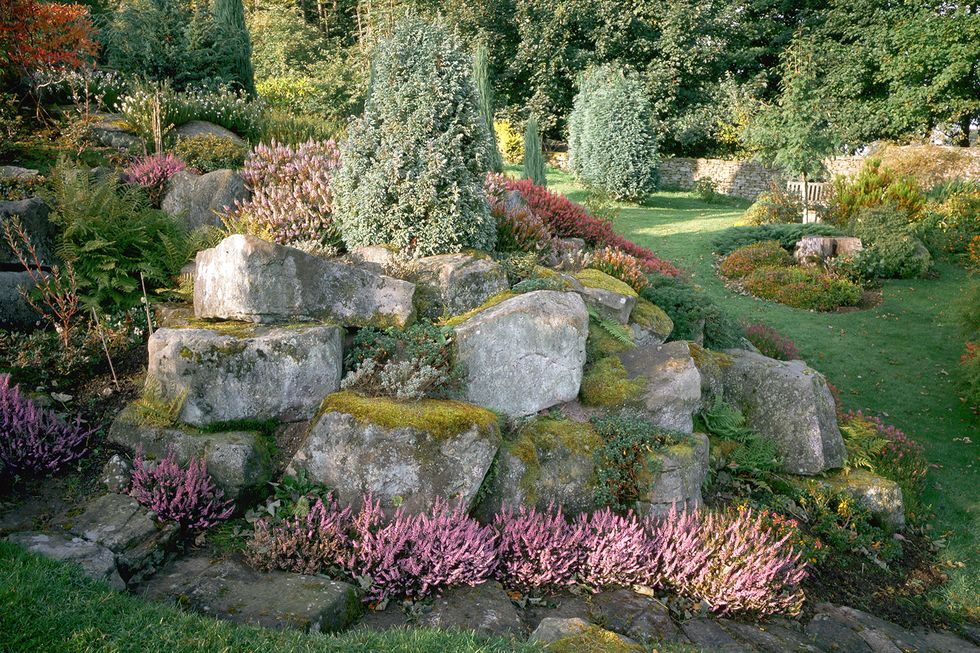
While most plant and vegetable gardens are arranged in neat rows or perfect squares on a property, rock gardens have more of a naturalistic, foundational look that complements and enhances the landscape of your property. If set up properly with plenty of drainage and weed-reducing elements, they're also very low-maintenance, and they don't need the amount of pruning, watering, and weeding that other garden beds require. Here are a few key tips for setting up your own gorgeous rock garden.
Materials Needed:
- Gravel, concrete, clay, or brick pieces for drainage layer
- Newspaper, sand, or weed-resistant fabric for curtailing weed growth
- Topsoil that corresponds best with your terrain and plant types
- Rocks, found on your property or at your local landscaping store
- Flowers and plants (more on that later)
Step One:
First things first: figure out where you want to set up your rock garden — installing it on flat ground or on a gentle slope is best, and you should also be able to dig up to a foot deep into the ground. (Using a raised garden bed to create a rock garden is also possible for a yard with virtually no soil.) Stay cognizant of the sunniness of your backyard, as you'll want to choose plants that are all compatible with getting the same amount of sun each day.
Step Two:
Drainage is paramount to a thriving rock garden. Once you've mapped your rock garden perimeter, dig into the ground just over a foot deep to get rid of rocks, roots, and debris, then lay the drainage layer, which should be about 4-6 inches deep. This coarse, rocky layer is spread to prevent your plants' roots from getting soggy (this same logic also applies for putting together a terrarium). A mix of small pea gravel or brick pieces is ideal.
Step Three:
On top of the drainage layer, spread out newspaper, sand, or weed-resistant landscaping fabric. This layer not only allows water to continue to drain through, but it supports the plants and topsoil and also prevents or greatly minimizes weed growth.
Step Four:
Gather your rocks to create the border of the garden and to function as accents amongst the plants. For keeping a natural look, stay consistent with the colors and texture of your rocks, as well as the angle that you position them in the garden bed — keep in mind that you'll be burying the rocks so that only the top third of them will show. Then, add a very generous layer of topsoil. The type of topsoil you use will depend on the type of greenery you're looking to plant. It's best to mix nutrient-rich soil with a grittier medium like cocopeat to further slow the absorption of water. Once you've laid the soil down, leave the bed alone for a few weeks to let the rocks, soil, and newspaper layers naturally settle.
Step Five:
Now comes the fun part! While you're letting your rocks and soil chill for a bit, start thinking and gathering together the plants and flowers that will be dotted amongst the rocks. It's important to approach your rock garden as a permanent installation that's in bloom all year — you're going to want to choose plants that are all compatible with your climate and the amount of light that the spot gets. A mix of hearty evergreen and perennial plants is best, so that there's always a bit of green in the garden, even in the wintertime. This isn't the place to plant your more delicate plants or your annuals.
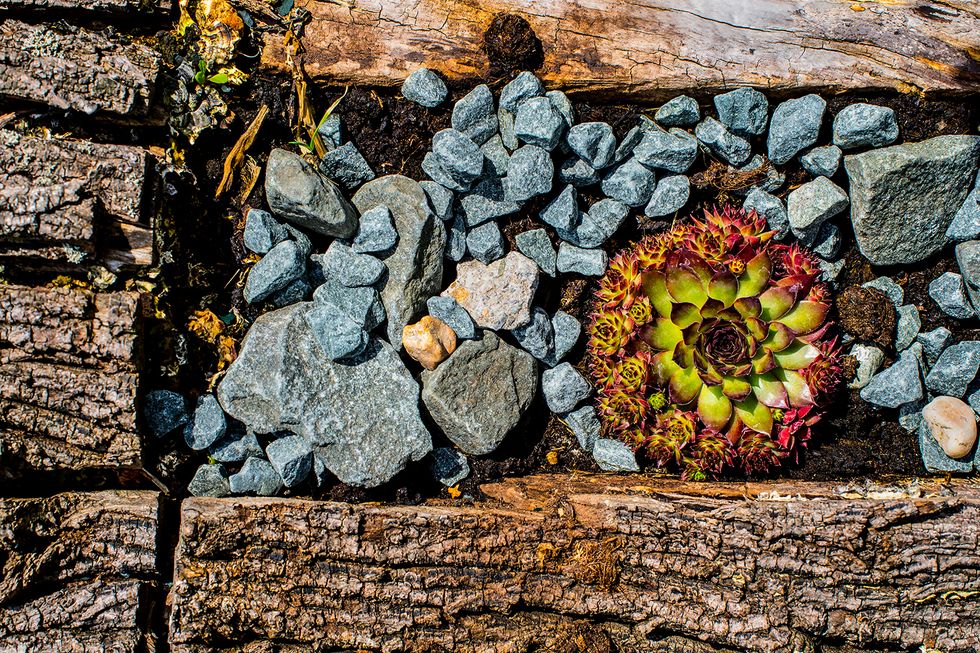
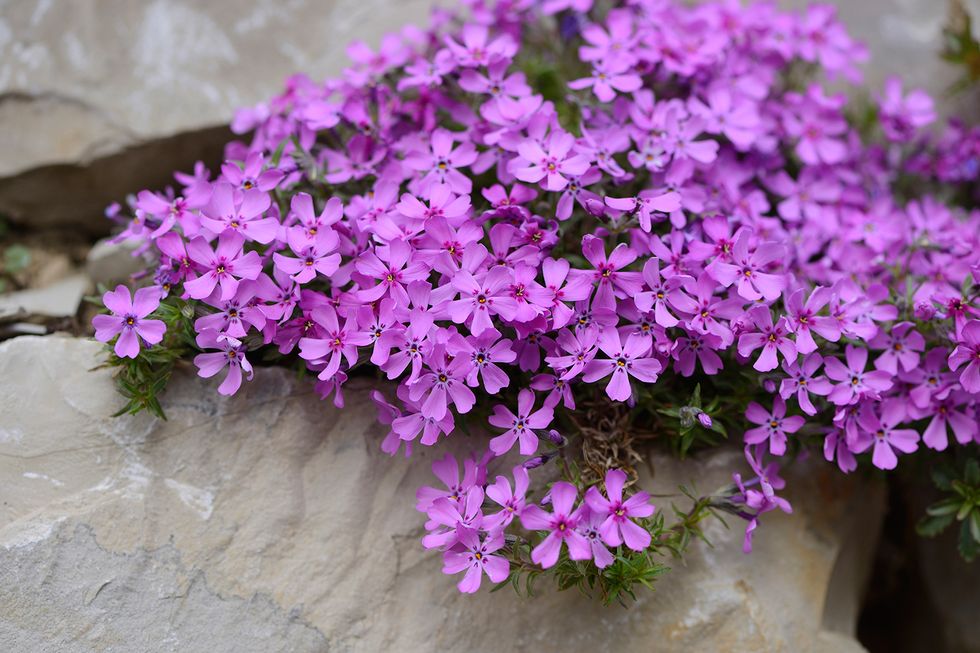
Hen-and-chicks and succulents almost look like rocks and blend into a grittier landscape. Alpine rock gardens are also very popular, consisting usually of creeping thyme, phlox, and candytuft. They're bushy flowering plants that are low to the ground and cover a lot of area. Don't feel compelled to fill every square inch of space with blooms — in fact, it's better to start off with just a few to help them root into their newly formed home.
Step Six:
Once your first few plants have acclimated, you can start moving them around and adding in new blooms. You can also add an extra layer of pea gravel on top to make the plants appear like they're growing wild from out of the stones. Occasionally, you'll need to pull a few weeds, but if you added a good protective layer underneath, this shouldn't be more than a sporadic occurrence. You can also add ornaments to your garden — like bird baths, outdoor speakers, and wind chimes — to make it into a peaceful spot to meditate and relax in the calm outdoor atmosphere.
More from BestProducts.com:
The Best Gifts for Those Who Aren't Afraid to Get Their Hands Dirty
12 Raised Garden Beds That Your Favorite Plants Can Call Home
You'll Need a Pair of Gardening Gloves to Build Your Rock Garden
Follow BestProducts.com on Facebook and Pinterest for all the latest products, so you can find the item that's perfect for you (at the right price)!
Melanie Yates is the senior service editor of Best Products, where she writes and reports pieces pertaining to the etiquette, dilemmas, and how-tos of gift-giving for different occasions. Previously, she was the site's senior home editor, covering all things decor- and bedding-related since 2015. Her digital byline can also be found on Bustle, House Beautiful, and Elle Decor. A longtime classical-music enthusiast, Melanie spends her off-hours enjoying performances big and small across New York City.
