Setting up RHEL (Red Hat Enterprise Linux) for a Minimal Install
Setting up RHEL (Red Hat Enterprise Linux) for a 'Minimal Install' on a virtual machine.
Welcome back to another tutorial from our Linux tutorial series.
We are taking a break from Alpine Linux and exploring a new topic.
This time we are going to run RHEL on a virtual machine for general-purpose computing.
We need to complete several steps to get it working correctly.
1. The very first step is to boot up the ISO image of rhel-9.2-x86_64-dvd.iso

2. It was a large download (9.371.072 KB). We need to make sure our installation media is free of corruption.

3. Here we have the basic language selection.

4. Here we have the main installation GUI.

5. We need to manage our disk installation settings.

6. We need to set up our custom partitioning.

7. Setting the right configuration for storage.

8. Storage configuration.

9. Final confirmation of storage configuration.

10. Here we have our software selection screen.

11. To save system resources we shall opt for the Minimal Install of RHEL 9.2

12. We need to set up the most basic network and localhost configuration.

13. We shall go for a much more reduced minimalistic security profile. DO NO do this in a production environment.

14. We need to set up our root account.

15. We are now fully prepared to Begin the Installation process.

16. Here we can see the setup process.

17. The Installation process has been completed.

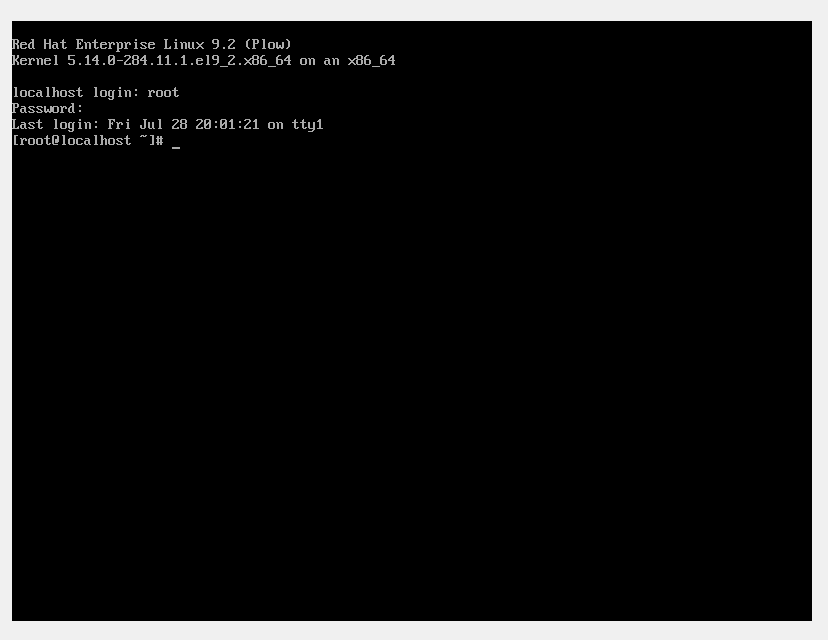
18. Our first boot of the new system.

19. Once our RHEL virtual machine execution environment has fully booted we are ready to begin our productive work – system ready.

20. We use the command 'shutdown -h now' to power off our RHEL virtual machine execution environment.

Well, that was exciting. See you in the next one! #linux