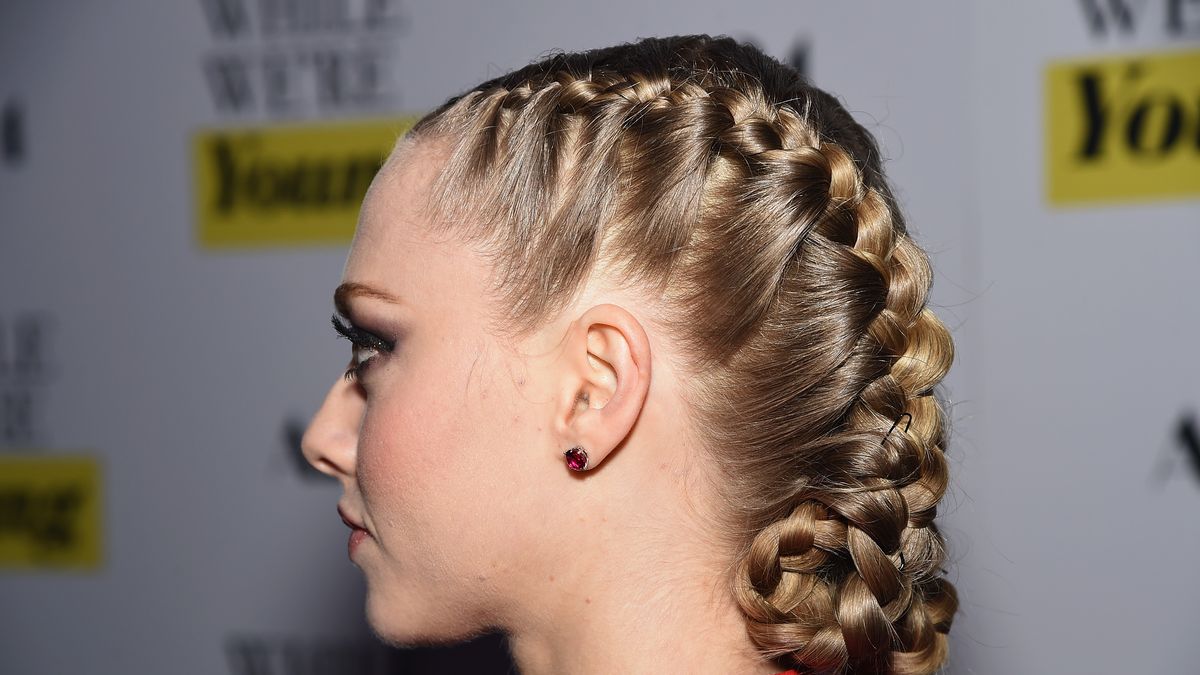
There's something undeniably alluring about the classic French braid. With a few twists of the wrists you're suddenly twinning with the likes of Disney princesses like Rapunzel and Belle. But the style isn't as effortless as it looks, especially if you're trying to French braid your own hair.
Since it's difficult to see what your hands are doing behind your head, things can easily get, quite literally, tangled up back there. The good news: You don't have to enlist the help of a talented friend or roommate to achieve the style. With this stylist-approved easy step-by-step guide, even complete beginners will master the art of French braiding, whether a single strand or pigtails, in no time. You may even be able to dip your toe in some advanced techniques, like adding ribbons or trying your hand at the Dutch braid (essentially an inside-out French braid).
But first, let's start with the basics.
Meet Our Expert: Hannah Metz, hair and style expert with Hannah Elisabeth Beauty
How to French braid your own hair
Before you attempt to start, heed this advice from style and hair expert Hannah Metz of Hannah Elisabeth Beauty: Start with dry hair.
"Wet hair is more fragile than dry," she explains. "So starting with dry hair will help avoid breakage." Plus, it's easier to separate dry strands, reducing the chance you'll end up with all kinds of lumps and bumps throughout.
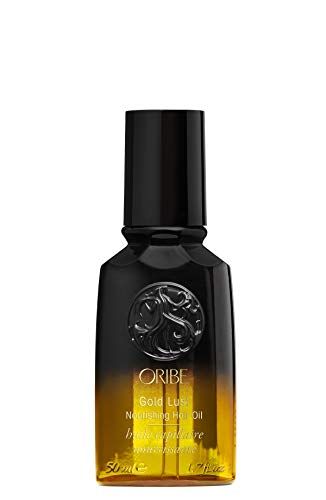
You'll also want to apply a small amount of hair oil (like Oribe's Gold Lust) to dry hair to smooth down frizz and flyaways, says Metz.
Ready to give it a go?
The step-by-step process
- Gather a small section of hair from towards the top of your head (a little from the right side, a little from the left side, and a little from the middle.) For best results, use a comb for parting each section, says Metz. This will help you achieve cleaner lines and contribute to the overall look of the braid.
- Separate that small section into three equal pieces.
- Begin the same way that you would a normal braid: Cross the right piece over the middle, then the left. (Tip: If the right and left are confusing, just think about outer and inner pieces. The outer pieces always cross over the inner one.)
- After each crossover, repeat, adding hair in from alternating sides. Continue doing this all the way down your head.
- When you get to the very bottom of your scalp and there's no more hair to add in from each side, complete a normal (non-French) braid until you have just about an inch of hair left. Tie it off with a small, clear hair tie.
What about layers that stick out?
So things are going well... until those pesky layers start sticking out from every direction? If you have short layers, Metz suggests curling the end of your layers before you start the braiding process. "If the ends of your hair are stick straight, they will be more likely to poke out," she explains. "Curling the ends makes it easier to tuck those rogue sections in and melt into the overall look of the braid."
Another quick tip: Use a strong hold finishing spray. "This is key when braiding with layers," says Metz, who recommends applying it liberally after the braid is complete."
Ready to try pigtails?
Multiple braids, like pigtails, may sound like a big jump in technical ability, but it's really quite simple once you know what you're doing. You simply divide hair into two sides—one on each side of your hair, then follow the steps above, one side at a time. To ensure hair from the other side doesn't get in your way when braiding, secure each section with a tie or clip, says Metz.
Once you get the hang of it, try these advanced techniques:
There are plenty of fun ways to add a little flair to a standard French braid:
Adding a ribbon: Up the strands you're working with to four, and you can add in a cute ribbon or scarf.
Create a fuller braid with extensions: If you have short hair or simply want a longer, sexier braid, adding clip-in extensions can help give you more length and volume.
Go messy: "One of my favorite French braid variations is to lightly pull out the sides of each section all the way down the braid," says Metz. "This creates a really full-looking braid that's more relaxed, but makes a statement."
Tuck it in: For a more refined look, tuck the end of your braid under to create a full-updo that's perfect for a hot summer day.
Give yourself a crown: Embrace your inner princess by French braiding in a circle around your head rather than straight down.
Brigitt is a writer, editor and craft stylist with nearly 15 years of experience. She specializes in lifestyle topics, including home, health, parenting, beauty, style, food, entertaining, travel and weddings. She has written for Glamour, People, Good Housekeeping, Women's Health, Real Simple, Martha Stewart, Apartment Therapy, The Spruce, and more.
